To Add Menus

This topic describes how to create multiple categories (i.e. multiple 1st level) and second-level items for your menus.
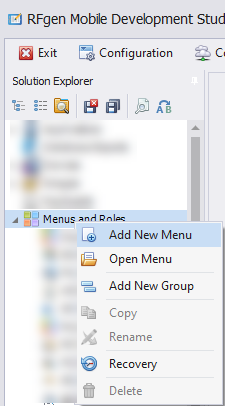
- From the Solution Explorer, right-click on Menus and Roles and select Add New Menu.
- A blank form displays.
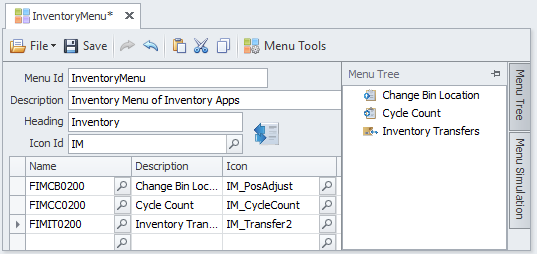
- Complete the Menu Id, Description and Heading as your top-level (parent) menus. The Icon ID, icon image and Heading are optional. This creates the top-level menu.
- After you created your top-level menu, add the items (applications). These will be organized as child menus and appear as second-level menu items at runtime.
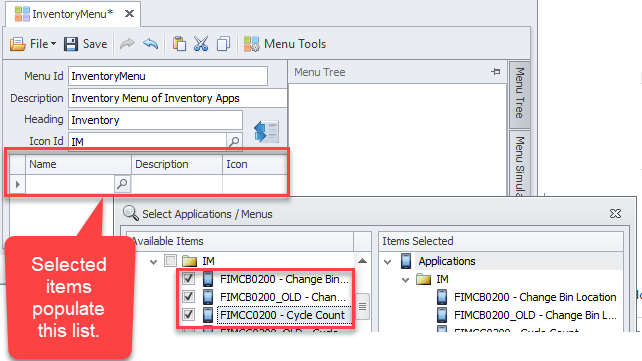
- In the Name field, click on the Search icon to list your applications.
- Check the ones you want to add. Complete the Description field and add the icon you want shown for the application. Your selected items are added to the Menu Tree.
- (Optional) To add an image, in the Icon field, click the Search icon which obtains images from the Images resource folder.

- Click Save.

Example Inventory Menu for three applications.
To view the menu as it would appear in the target device, click on Menu Simulation.